Operational Story · Operational Stories

Preparing for a Flying Day

A step-by-step walkthrough of HangarTrak’s operational field deployment workflow.

Before wheels-up, operators need a clear picture of aircraft readiness, field conditions, and the gear going to the flying site. HangarTrak connects that preparation into one workflow—from Mission Control briefing through a printable deployment manifest.

This walkthrough follows a typical flying-day sequence using HangarTrak’s standard dark operational interface and demo fleet data.

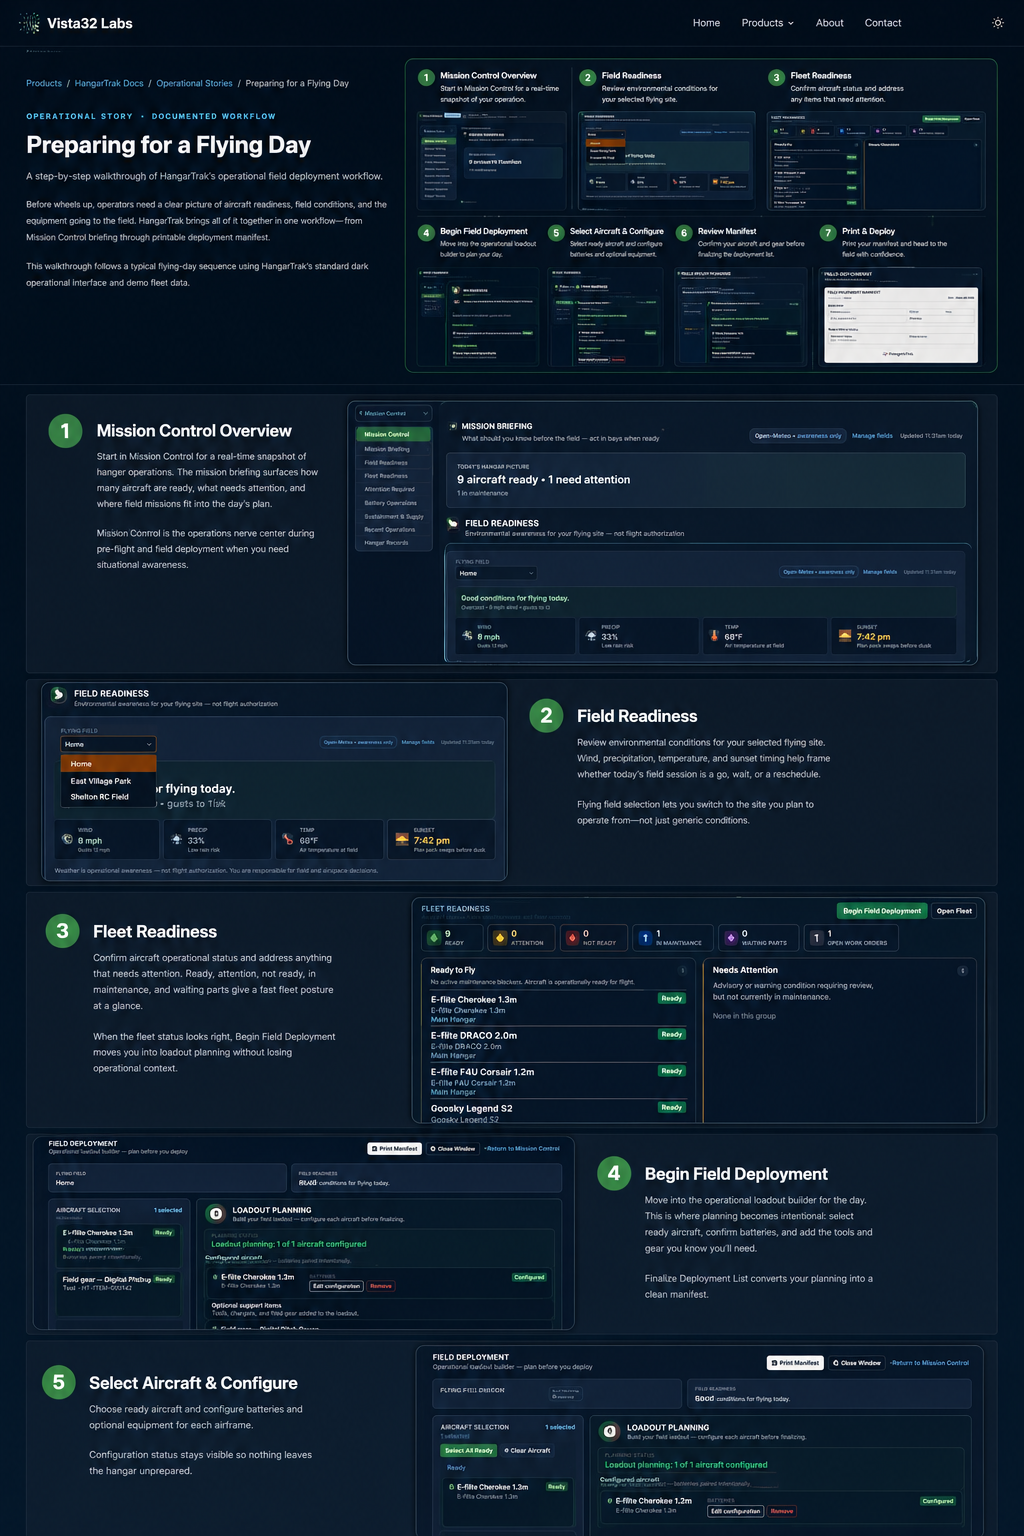
HangarTrak field deployment workflow overview — seven steps from Mission Control to printable manifest

End-to-end flying-day preparation workflow in HangarTrak.

Tip: Open the image full-size for the clearest view of the workflow panels.

Open full-size image

Seven operational steps from mission review through field deployment.

Step 1

Mission Control Overview

Start in Mission Control for a real-time snapshot of hangar operations. The mission briefing surfaces how many aircraft are ready, what needs attention, and where field readiness fits into the day’s plan.

Mission Control is the orientation layer—use it before diving into Fleet or Field Deployment when you need cross-workspace awareness.
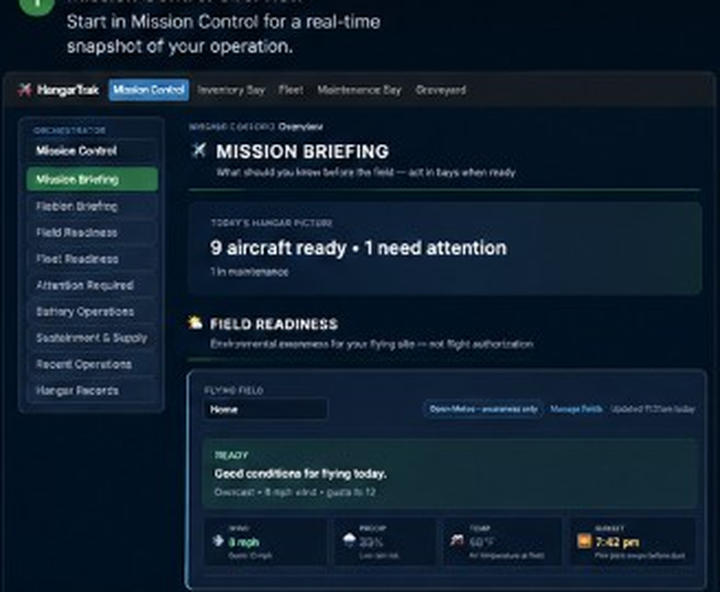
Mission Control Overview — HangarTrak screenshot

Step 2

Field Readiness

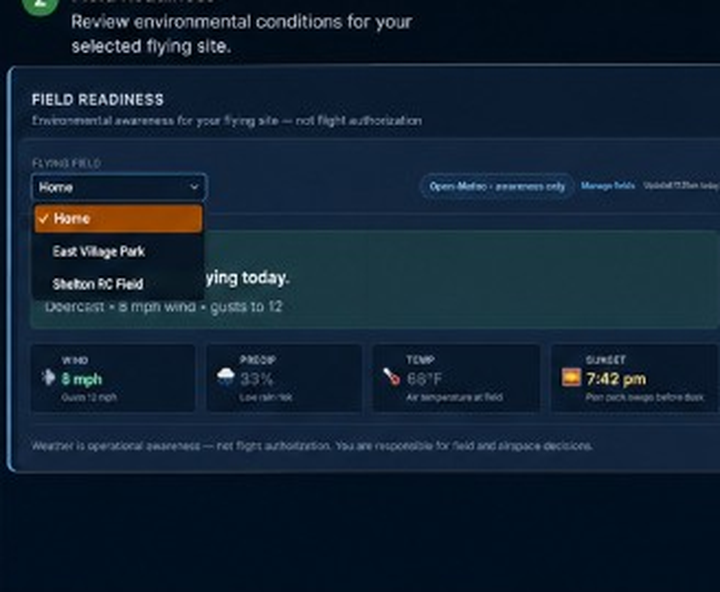
Review environmental conditions for your selected flying site. Wind, precipitation, temperature, and sunset timing help frame whether today’s field session is a go, a wait, or a reschedule.

Flying field selection ties weather context to the site you plan to operate from—not just generic conditions.

Field Readiness — HangarTrak screenshot

Step 3

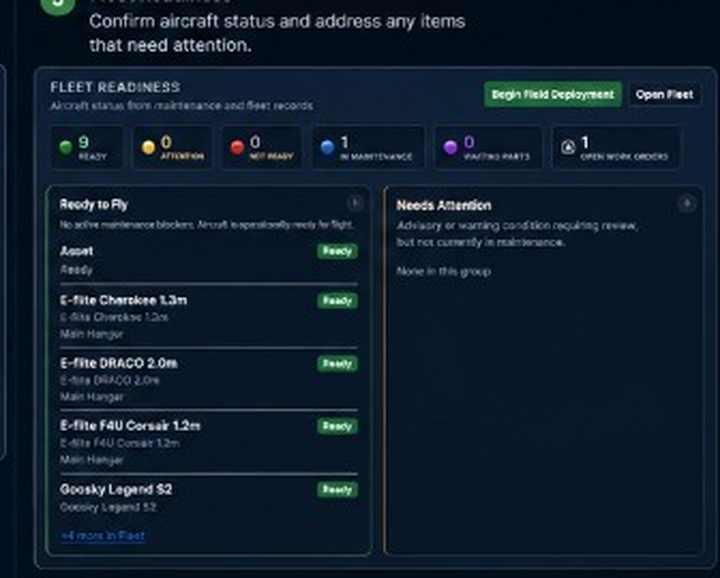
Fleet Readiness

Confirm aircraft operational status and address anything that needs attention. Ready, attention, not-ready, and in-maintenance counts give a fast fleet posture read before you commit to a loadout.

When the fleet picture looks right, Begin Field Deployment moves you into loadout planning without losing operational context.

Fleet Readiness — HangarTrak screenshot

Step 4

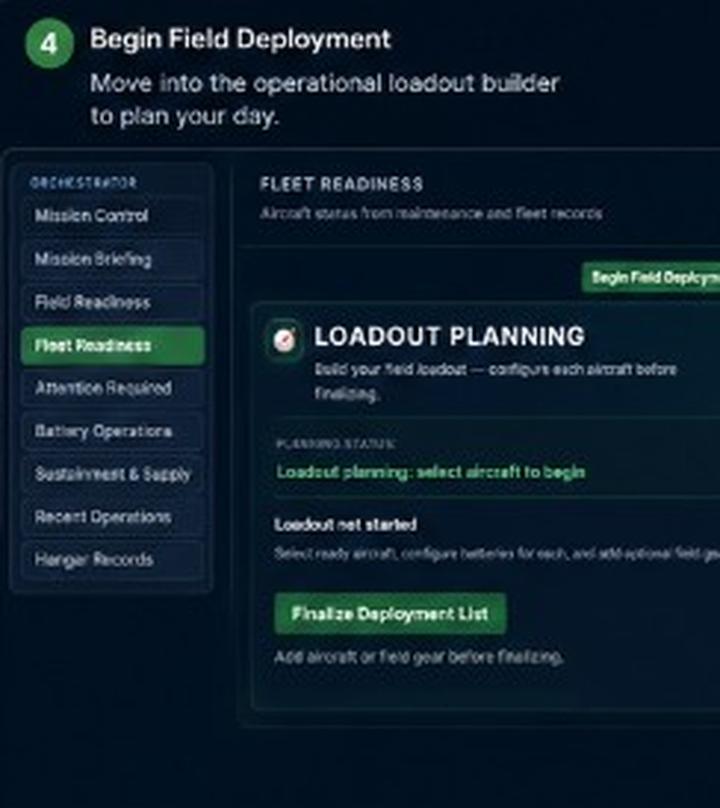
Begin Field Deployment

Transition into the operational loadout builder. Field Deployment mode focuses the UI on what is going to the field—not everything left in the hangar.

Begin Field Deployment — HangarTrak screenshot

Step 5

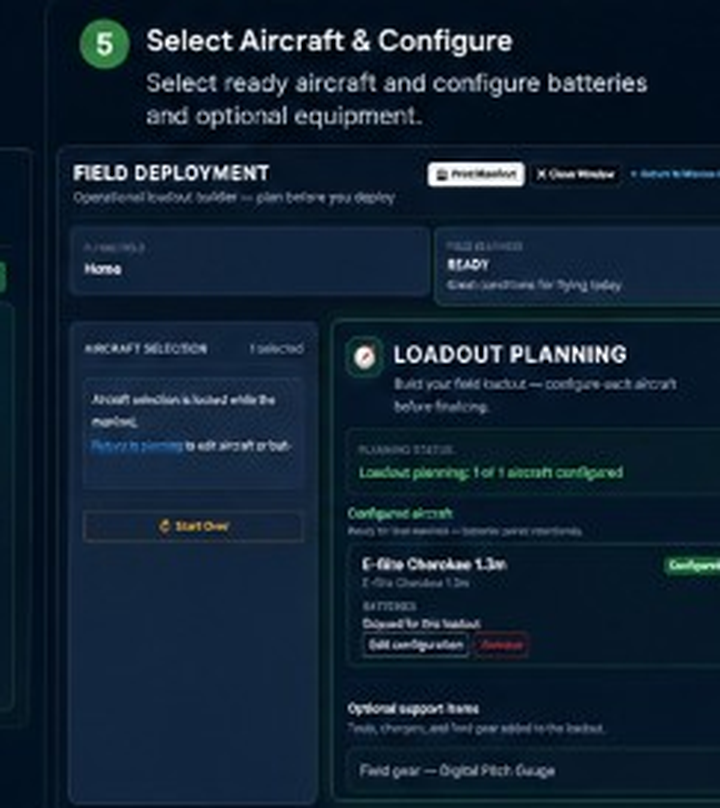
Select Aircraft & Configure

Choose ready aircraft and configure batteries and optional equipment for each airframe. Configuration status stays visible so nothing leaves the hangar half-prepared.

Batteries and field gear attach to the aircraft loadout—not as disconnected inventory line items.

Select Aircraft & Configure — HangarTrak screenshot

Step 6

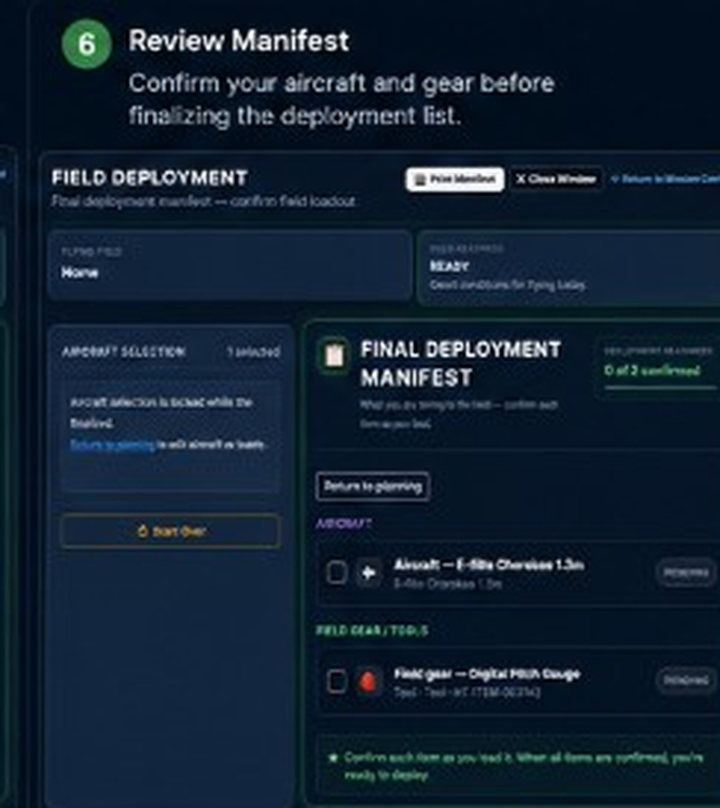
Review Manifest

Confirm the final field loadout before sealing the deployment list. The manifest view is the last operational checkpoint—aircraft and gear should match what you intend to load.

Review Manifest — HangarTrak screenshot

Step 7

Print & Deploy

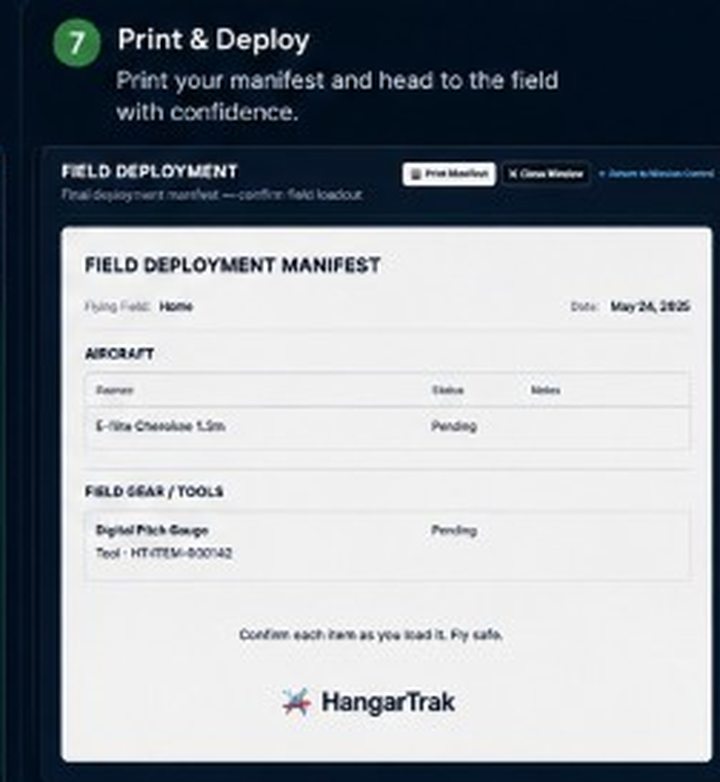
Generate a printable deployment checklist and head to the field with confidence. The manifest travels as a paper-ready reference for loading and field verification.

Print output is designed for hangar-floor and tailgate use—clear sections for aircraft and field gear.

Print & Deploy — HangarTrak screenshot